Teaching students to ask and answer questions can be a daunting process, but it is necessary if we want our students to read proficiently at increasingly more sophisticated levels. I recently released a new edition of Concrete Comprehension: Questioning for Intermediate Learners. In this blog post, we’ll dig deeper into this important reading strategy. We’ll also dive into some concrete, hands-on activities to teach questioning skills to intermediate readers. Before we start to learn about some lesson ideas, let’s quickly chat about why questioning is such a critical component of comprehension.
First of all, it’s important to note that questioning is a normal part of the human experience. Sometimes our students come to us with faulty preconceived notions about questioning. Somewhere along the line, they have gotten the impression that questioning is a sign of weakness. They incorrectly ascertain that questioning means they aren’t smart enough, or they worry that they will disappoint their teachers if they ask a question the teacher thinks they should already know the answer to. I’m sure you have heard the old adage, “There aren’t any stupid questions.” Well, it’s a little hokey and overused, but it’s true. Anything that causes confusion for an individual necessitates clarification. It necessitates questioning.
I LOVE highlighting Albert Einstein’s life as we explore questioning because he was a person who was propelled by questions and a unquenchable curiosity, yet he is known for his brilliance. Kids may not understand the complexity of the theory of relativity (I only understand the theory in theory), but they already are cognizant of Einstein’s genius status. Despite his profound giftedness, he is known for famously saying, “The important thing is to not stop questioning.” Isn’t that such a simple, yet profound statement? It has resonated with so many of my students over the years because it changes the connotation and dialogue about questioning in the classroom.
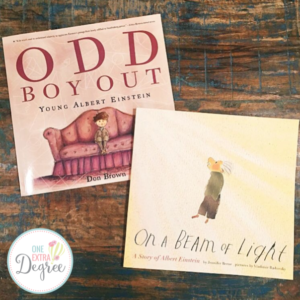
My favorite books about Albert Einstein are Odd Boy Out: Young Albert Einstein and On a Beam of Light: A Story of Albert Einstein. They are both appropriate for intermediate students, help foster a growth mindset in the classroom, and are great for facilitating questioning in the classroom. I love how both books show Albert’s faults and strengths, and I love how they paint questioning in a really flattering, beneficial light. When kids no longer see questions as “weaknesses”, we set the stage for risk-taking, inquiry, and innovation.
Beyond the day-to-day necessity of questioning, we know that questioning is important because it helps deepen our understanding, it helps us clarify our own thinking, it helps us comprehend text more fully, it increases reading engagement, and it transforms a passive reader into an active reader. Questioning is empowering and powerful.
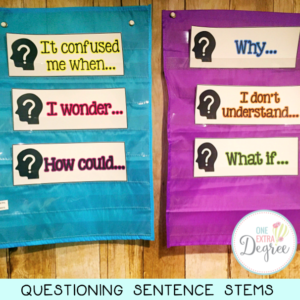
Sometimes it can still be an abstract concept though, so it’s important that we break it down in kid-friendly ways. Using concrete models and hands-on manipulatives enables students to (quite literally) grasp how to masterfully use this strategy in the classroom. In addition, giving them sentence stems to model how to effectively ask questions paves the way for success from the start.
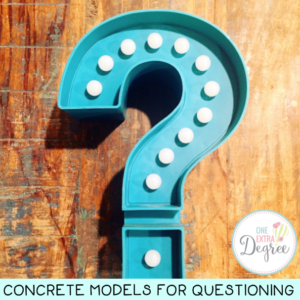
When launching a questioning unit, this marquee question mark is a great way to show students that when we ask questions, we activate (or light up) parts of our brains. It is a great hook at the beginning of a questioning unit because it ties into previous lessons on schema and the way our brains work (from my Concrete Comprehensions: Schema and Metacognition for Intermediate Learners unit). The Room Essentials Marquee Question Mark is available at Target in pink or teal, if you’re interested in snagging this for your classroom. It’s definitely an optional item, but I since I always kick-start the year with schema and metacognition lessons, I love the continuity provided by this concrete model.
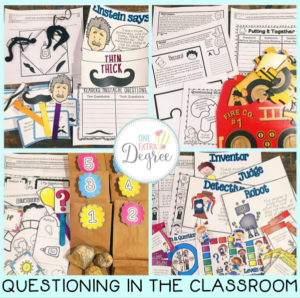
Let’s keep learning about more concrete lessons for questioning! This unit includes five mini-lessons that progress from a teaching point, to explicit instruction, guided practice, independent practice, and a closing/extension. Concrete models are incorporated to help students ask and answer questions proficiently. The concrete models used in this unit include: a puzzle, a mustache, a toy race car, and a geode (although you can choose anything that students would be unfamiliar with like a whisk, a wrench, a rock, etc.) Students will engage in hands-on, visual, concrete activities that will help students literally grasp how readers ask and answer questions, and how this strategy can help them as readers and writers! Although I did make the Einstein book suggestions, you can substitute any text you desire. (I have included editable templates to help ensure that you can tailor this unit to meet your own unique classroom needs, if you decide to use an alternate text.)
The first lesson addresses asking general questions to deepen understanding. It includes a variety of activities that are intended to review question words, allow students to ask questions about familiar and unfamiliar objects, and to help students understand that questioning is something we do when we want to know more about any topic.
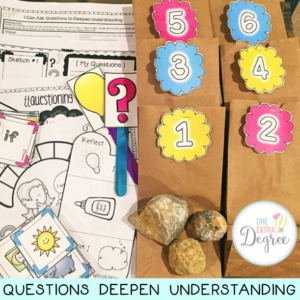
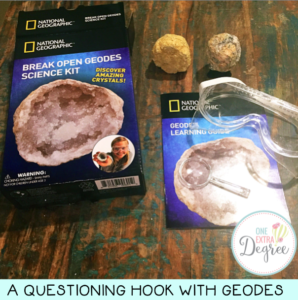
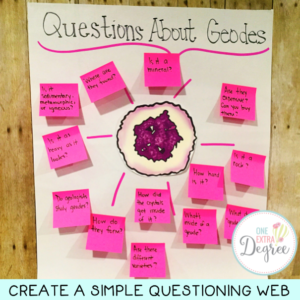
The first part of this lesson uses an object to guide students through the questioning process. You can use any object you desire (like a wrench, a whisk, a rock, etc.). I decided to use geodes. I found this National Geographic kit on Amazon for $10. I liked that it came with two geodes, so I could keep one intact and crack the other one open. Then I could reuse the same set year after year, and I could lead my students through two layers of questioning: looking at an intact geode and looking at a cracked geode. A simple anchor chart can be created to display questions generated by students.
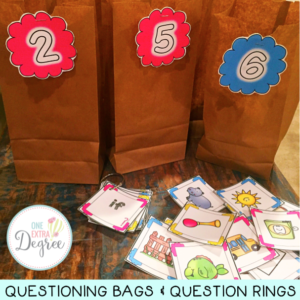
Next, the students are placed into six different groups. Each group is given a numbered lunch sack with cards featuring objects and critters, and they are also given a ring of question words. They work together to ask questions about the topic(s) on their respective cards, and then they record information on a graphic organizer.
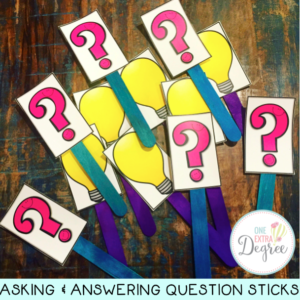
Students also use asking and answering question sticks to practice asking and answering questions based on self-selected texts. This is a meaningful and fun partner activity. Additional graphic organizers and a formative assessment are also included in this lesson.
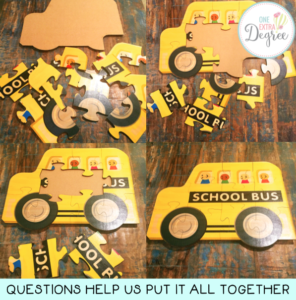
The second lesson addresses how readers ask questions before, during, and after reading. It begins by looking at a simple jigsaw puzzle. (I like the wooden puzzles by Maple Landmark because they come with a cardboard outline and take the shape of the object they are representing. You could use any simple puzzle though.)
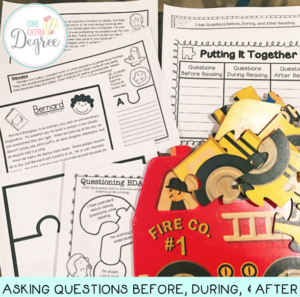
The puzzle illustrates the three stages of reading. Before we put together a puzzle, we have a basic idea of what we are going to be putting together. We might have an idea of the topic/subject, we may get the basic outline of it (via the book cover, illustrations, the book commercial, book reviews etc.), and we ask questions related to the basic premise of the text or our purpose for reading. Then during, we start to piece things together and fill in the gaps. We ask questions that clarify and help us see a clearer picture of what’s taking shape/what’s happening. We also ask self-monitoring questions like, “Does this piece fit? What if I look at it this way?” We ask similar questions when we read. We stop to ask, “Does this make sense? What could that word mean in this context? How will the main character solve their big problem?” When it’s done, we see the whole picture, but we still may have questions about the topic. (My question after putting this together was, “Were the peg people in the bus inspired by vintage Little People?”) When we finish reading a text, we are often left with lingering questions that may or may not be able to be answered through dialogue, rereading, or additional research.
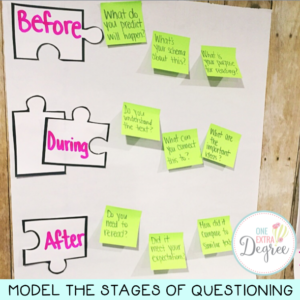
It is important to model the three stages of questioning. Students will best understand texts when they are actively engaged in question generation at all stages of the reading process. The types of questions vary at the different stages, so that should be modeled for students. Creating an anchor chart to show basic examples of questions at each stage helps provide a scaffold for guided and independent practice.
The second lesson also includes a complete mini-lesson, two short passages about geodes and Albert Einstein, a longer passage about an inquisitive boy named Bernard, a puzzle template for students to create their own puzzles and practice questioning, graphic organizers, and a formative assessment.
The third lesson in this unit goes a step further. It addresses the fact that not all questions serve the same purpose or are created equal. Some questions are thin (and address the surface level of the text such as identifying characters/setting, or identifying the problem), and some questions are thick (and require careful reading, reflection, and a more detailed/more thoughtful answer).
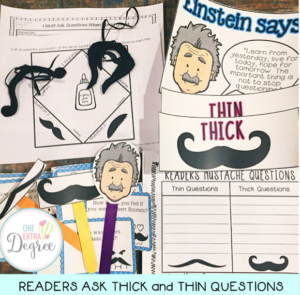
Explicitly teaching students the sentence stems that produce thick and thin questions is important. It helps students begin to ask these questions, surely, but it also helps students to begin to identify when questions require a little more consideration and reflection as well.
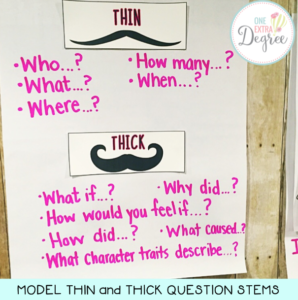
This lesson’s concrete model is a mustache because readers must ask questions when they read. Since mustaches come in different shapes and sizes, it’s a perfect way to discuss thick and thin questions in a tangible, concrete way. I purchased the mustaches I used for my unit from Land of Nod for my toddler when they were on clearance, so unfortunately they are unavailable, but I included a thick and thin mustache template in the file. You can simply attach them to popsicle sticks to hold them up to your face and sport a faux mustache for this lesson. I used Odd Boy Out for this lesson, and the question cards feature thick and thin questions from this text. (Editable cards are available if you decide to use a different text.) Essentially though, students will work together to identify whether each question is thick or thin, they will hold up a corresponding mustache, and then they will answer the questions citing evidence from the text, as required.
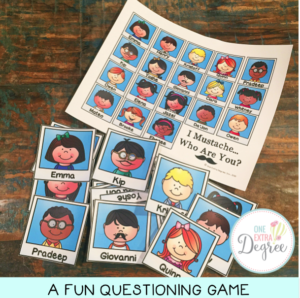
The lesson includes a graphic organizer to use with a self-selected text for independent practice, a formative assessment, and the “I Mustache…Who Are You?” game. It works a lot like Guess Who. The game grid can be printed (as pictured), or it can be projected onto a screen. You will choose a character, and students will ask clarifying questions to identify the character(s). This activity shows the kinds of questions that require yes/no answers. It reveals thin questions, and it is a fun starting point as you take things deeper… ahem…thicker?!
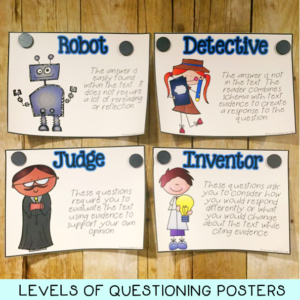
The fourth lesson addresses the concept of thick and thin questions in an even more sophisticated way. It looks at four levels of questions: Robot Questions, Detective Questions, Judge Questions, and Inventor Questions.
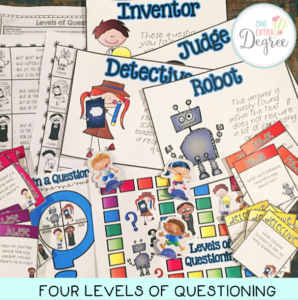
As you can see on the posters below, the levels become increasingly more complex. The Robot Questions are technically the only “thin” questions. The other three levels require more careful reading and reflection, and thus, they are all “thick”. That said, each level goes up another level of Bloom’s. Robot Questions require students to REMEMBER and regurgitate answers. They are important for students to understand the gist of the text. Detective Questions could require students to UNDERSTAND, APPLY, or ANALYZE the text. Judge Questions require students to EVALUATE the text. Lastly, Inventor Questions require students to CREATE.
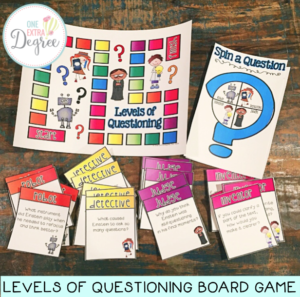
The Levels of Questioning Board Game is a fun way to explore the different levels of questioning. It features questions from On a Beam of Light, but the game cards are also available as an editable template for customization. Graphic organizers and a formative assessment round out the resources that accompany the mini-lesson.
The fifth and final lesson addresses the RACE strategy for writing an extended response. At this point in the unit, students understand that questions help us to understand and comprehend at deeper levels. They understand that readers ask questions before, during, and after reading. They understand that questions can be thick or thin— that they can be increasingly more complex. They have had practice with asking and answering questions and citing evidence from the text. Now it’s time to put it all together for a quality written response using a toy race car and a mnemonic device.
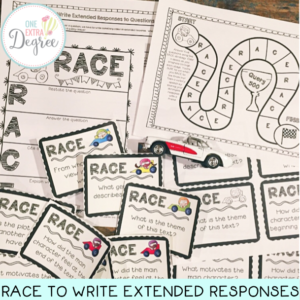
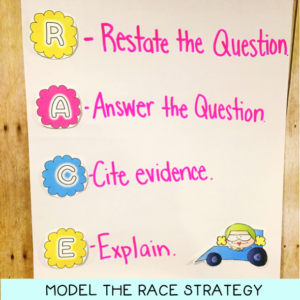
Explicitly teach students the steps in the process, and create an anchor chart for students to refer back to. Then allow students to practice with a self-selected or teacher-selected text using the question cards and graphic organizers in this file. (Just like the other lessons, an editable template is available to customize questions to best suit your needs or differentiate for students). This final lesson also includes a template to help your students physically manipulate and rearrange questions to restate the question, graphic organizers, and a formative assessment.
As you can see, questioning can be a fairly complex strategy to teach. Utilizing kid-friendly concrete models is a great way to help your students masterfully ask and answer questions! Not only are the lessons fun and engaging, they lead your students to engage with text in more meaningful ways, resulting in better comprehension and more thoughtful extended responses! I’d call that a win!
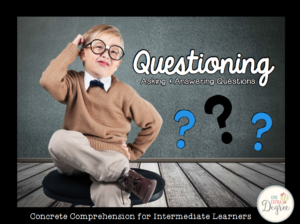
Thank you for taking a closer look at this new comprehension resource with me. I hope this blog post gave you a couple ideas that you can use in your classroom when teaching questioning skills to your students. I also hope you’ll check out the entire unit in my shop by clicking HERE or on the image below. If you enjoyed this blog post, you’ll LOVE to own the entire resource with the additional lessons and materials!

WOW! What a great resource! I was looking for something for our short week (3 days) and this looks perfect! Thank you for sharing all of the great details.
Alivia
The Cheerful Chalkboard