I LOVE utilizing centers in my classroom because it is such a perfect vehicle for differentiation, collaboration, critical thinking, and responsibility. I wholeheartedly believe that a predictable and reliable structure paves the way for variety and novelty. It makes it possible and helps students be successful.
Actually, I’ve said it probably a thousand times before, but I am all about simplicity. I don’t like to waste instructional time. In fact, I loathe it, and I avoid it at all costs. This simple way to organize your centers is not only a time-saver, it also empowers your students and equips them to navigate the centers confidently while you facilitate, chat, observe, and move about. Here’s how it works:
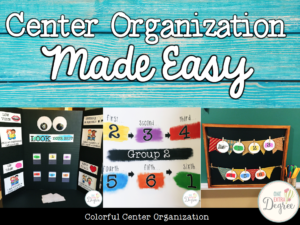
Grouping Students
This approach promotes flexible grouping because the students can receive a different color as often as you deem necessary, and the groups can change and evolve without overt detection of sharks, swordfish, and guppies. There’s no room for static high, middle, or low groups. Remember, you don’t want to keep the same students together all of the time– the goal is to pull flexible skill-based groups. It isn’t realistic that all of their needs are exactly the same, and it isn’t what’s best for kids.
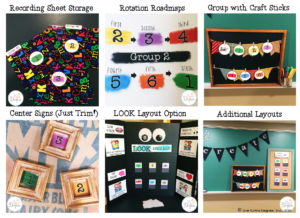
Whether you want to group your students heterogeneously, homogeneously, or randomly, simply distribute colored craft sticks to designate each student’s color and group! You’ll want to physically hand each student a craft stick to designate their color. This ensures that they won’t forget which group they have been assigned to, and it also ensures that you are able to flexibly group your kids with ease. As you can see below, I set up a simple board display. I just displayed six circular labels and used a pointer finger to show the direction they should rotate in. You can see that each color has a corresponding number. Simple, right?
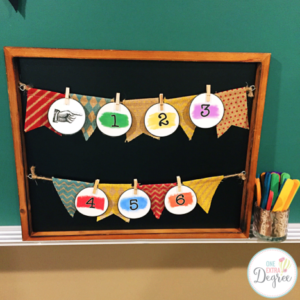
Displaying Groups
If you’re looking for another way to extend this, you can purchase library pockets and attach them to a bulletin board or other display. Then you can easily add cards with students’ names to keep track of who is in each group (especially if the groups will stay the same for more than one day). Here’s an example of how that might look:
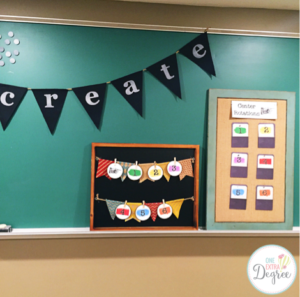
LOOK Your Best Board
I created a third way to display center rotations with a trifold board using an acronym called LOOK. Essentially, the L stands for “Low Voice”, the O stands for “On task”, the second O stands for “Observe and Record”, and the K stands for “Kind to All”. I made a little “Look Your Best” banner for my trifold and adhered it underneath giant googly eyes. Then I added pockets to have a place for student names. I attached the acronym headers to the outside of the board, and underneath each heading, I displayed posters that elaborate more on center expectations. This is a great reminder for students as they work collaboratively in centers. It also gives you a quick and easy way to review expectations prior to breaking out into groups.
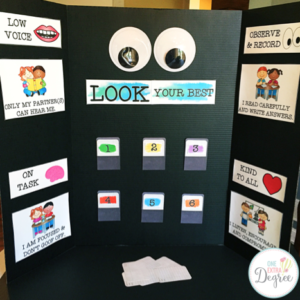
Rotation Road Maps
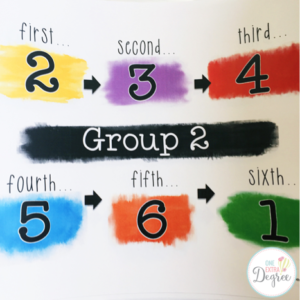
Because I want my students to be pretty autonomous, I also created “Road Maps”. They show students exactly how each group should proceed through the centers. I don’t want to waste one single moment of instructional time, so my systems need to run like a well-oiled machine. The maps ensure that my students can move when the timer goes off without needing me to confirm where they need to go. As you can see, this is a pretty simple diagram.
Recording Sheet Organization
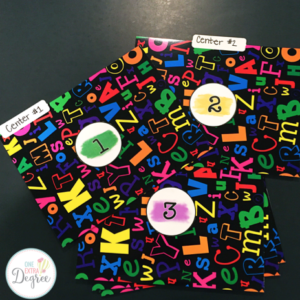
In the past, I used to organize my center materials by folding large construction to create “folders”. Then I would label them with Sharpies. In this case, I attached the colorful round labels to the front of file folders. I like putting my recording sheets in folders so they are contained and organized, and I love numbering them because they help designate center locations as well.
Center Signs
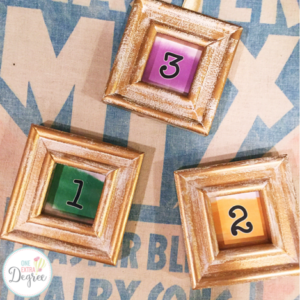
Additionally, you can use small numbered frames to designate center stations. Then you can easily prop them up near the materials to help guide your students.
If you’d like to utilize the materials featured in this blog post in your own classroom, you can download them for free in my One Extra Degree shop on TpT. Just click on the image below to download the Center Organization Made Simple freebie, or click here.
Remember, center organization doesn’t have to be cumbersome. Make it work for you! Make it simple, keep it consistent, and ENJOY watching your students succeed! Happy Teaching!

Leave a Reply