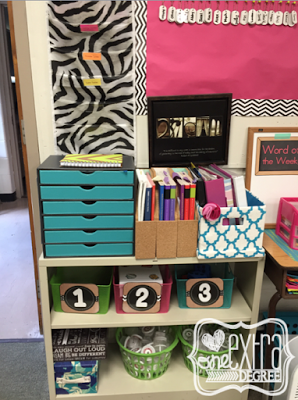
Today, I will be sharing my favorite tips for taming the paper mountain (because I detest clutter and disorganization). I love the term “paper mountain” because that’s exactly what paper seems like sometimes. A mountain of clutter. A HUGE, daunting, sometimes overwhelming obstacle to tame or conquer.
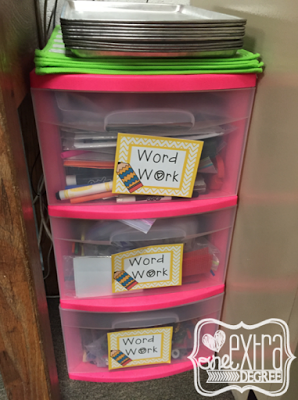
I have tried SO many different approaches over the years, and I finally feel like I am in a happy place. Everything has its place. Everything is labeled. Nothing is haphazardly placed somewhere because I loathe wasting instructional time, planning time, and personal time. I made a vow not to chip away at my time searching for materials or sorting through things. It’s definitely been a process, and I have tried different approaches over the years, but I feel like I have found what works for me. (It only took me ten years to figure out! Ha!)
For me, the organizational process always involves purging. That’s important to note. Sometimes when we hold on to materials we aren’t using (and haven’t used in years), it impedes our ability to utilize or FIND the quality materials we DO want to use with our students. Less is more. It’s definitely about quality over quantity, and once you have pruned your materials down to the necessities, it’s easier to organize and designate a place for everything! So, with that said, here are my organizational tips! Time to tame that mountain!
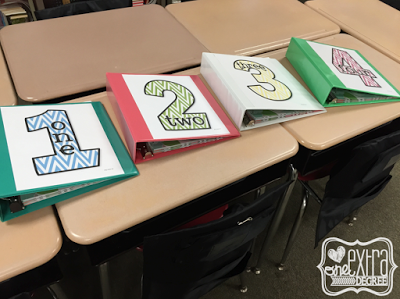 |
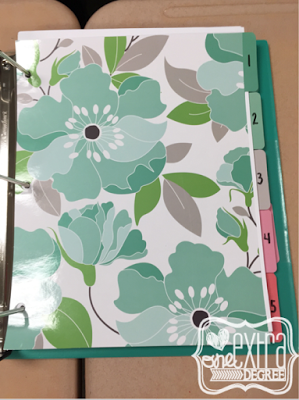
| I use one binder per quarter and divide each binder into 9-weeks to grab & print in a hurry! |
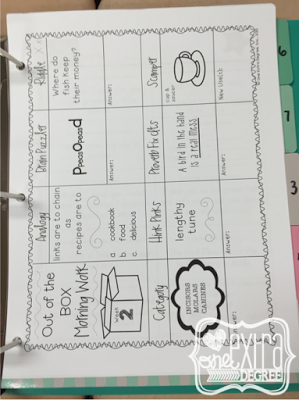 |
| Out of the Box Critical Thinking Morning Work |
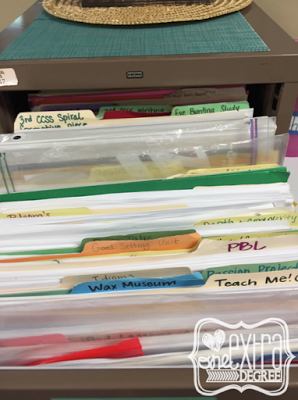 |
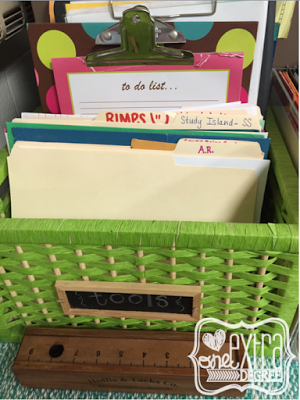
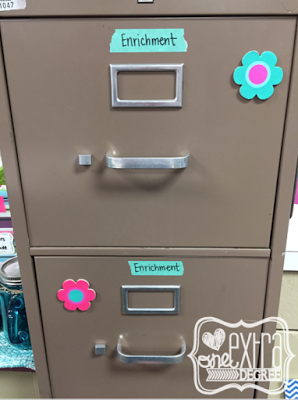
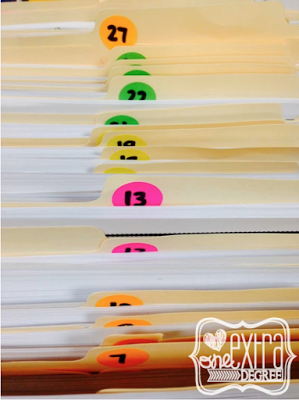
| I label projects/units in a separate file from the skill-based files. |
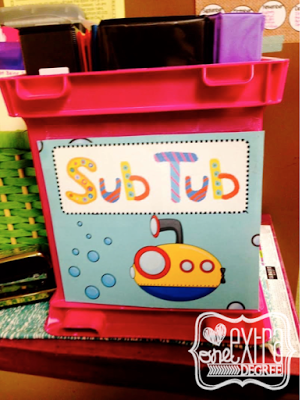 |
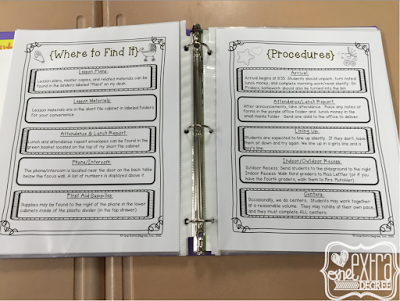
| My best-seller & major lifesaver: The Sub Tub & Binder! |
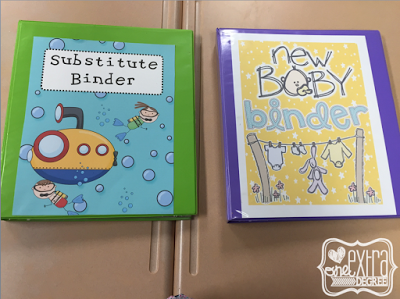 |
| Another look at the Sub Tub Binder and the New Baby Binder! |
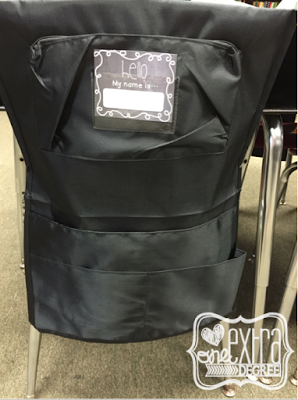 |
| This vinyl seat sack is from The Fabulous Classroom! SO reasonable! |
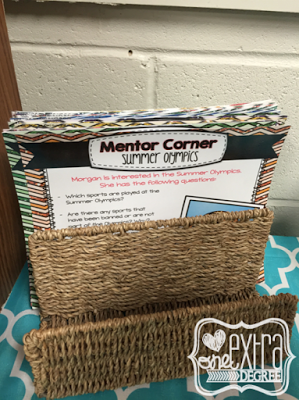 |
| This research center is part of my Stop, Collaborate, & Listen bundle! |
 |
There you have it: a list of tips and tricks to help YOU tackle your own paper mountains! I realize that some of the “tips” are common sense and not necessarily earth-shattering, but sometimes it’s nice to see another person’s interpretation or execution of something you may have heard of before. It’s also nice to be reminded of things you may have forgotten about. Hopefully, you were able to find a fresh idea or two as well! Ultimately, my goal for this post was to help YOU organize your room in such a way that everything has its place, clutter is significantly reduced, less time is wasted, and you are confident and competent instead of overwhelmed and stressed. POW! Take THAT paper mountain!


Great ideas! Thank you! Can I ask why do you divider the binders into 9 sections? What is each section for?
Christina Marie
Apples, Books, and Crayons
applesbooksandcrayons@gmail.com
I have for binders for each 9 weeks, so each binder has 9 dividers. I store weekly spelling lists, morning work, and homework in each section to cut back on prep time. I can just grab, go, and copy!
Excellent post! Love, love, love the pictures and "caption tips".
I love your organization tips! So inspiring!!!
rebeccasweeney81@yahoo.com
Wow! You are so organized! I am in a little bit of a different situation now– I am a push-in ESL teacher and my space keeps getting cut more and more and more. I can't get into my school now as it is under construction but I think I will have about 2 shelves on a bookshelf and a teacher desk. That's it! I used your idea for the Tools basket last year– it worked well.
My Bright Blue House
These are some wonderful tips!